No products in the basket.
PLC And KEPServerEX – How To Connect Delta PLC to KEPServerEX 6 Use Modbus
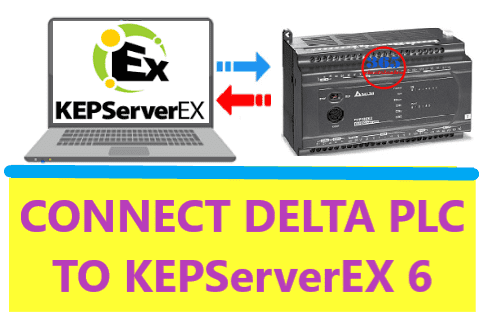
How to communicate the PLC and KepServerEX? This post 365electricalvn guides you on the steps to connect the Delta PLC to KEPServerEX 6 using Modbus ASCII Serial.
Contents
KEPServerEX is the industry connectivity software. It allows the users to connect, monitor, or control diverse automation devices from very many automation brands such as Siemens, Delta, Mitsubishi, AB… And supply the software applications through one intuitive user interface. KEPServerEX bridges the communication gap between diverse hardware and software applications. For example, you can connect, monitor and control the PLC from Siemens, Delta, Mitsubishi… on only one application as Visual Studio C# through Kepserver.
The Method To Connect Delta PLC And KEPServerEX 6
 To connect Delta PLC and KepServerEX we used:
- Hardware
- Delta PLC Model DVP16ES2
- Delta DOP-100 HMI communication DVP PLC for monitoring and controlling the PLC values. And the Delta HMI is connected to the PC by using VNC Viewer.
- USB-Serial Cable for download the PLC program and connect the Delta PLC to KEPServer software.
- Software
- Delta WPLSoft 2.5 for PLC programming
- Delta DOPSoft V4.00 for DOP-100 HMI
- KEPServerEX 6 Software
You can download all software at the end of the post.
Could be helpful for you:
- Download PLC Program Using USB Through HMI Delta DOP-100
- Download HMI Program Using a USB Disk On Delta DOPSoft V4.00
- Update Firmware PLC Siemens S7-1200. Upgrade and Downgrade PLC FW
The Steps To Connect Delta PLC and KEPServerEX 6
On Delta DOP-100 HMI Software And PLC Software
- Create a project, and then download the projects to devices.
- Please refer to the previous posts for how to download the program, communicate PLC and HMI or use the VNC Viewer function. We guide all on 365EVN.
On KEPServerEX 6 Software
- Download and install the software as normal. And then open KEPServer EX.
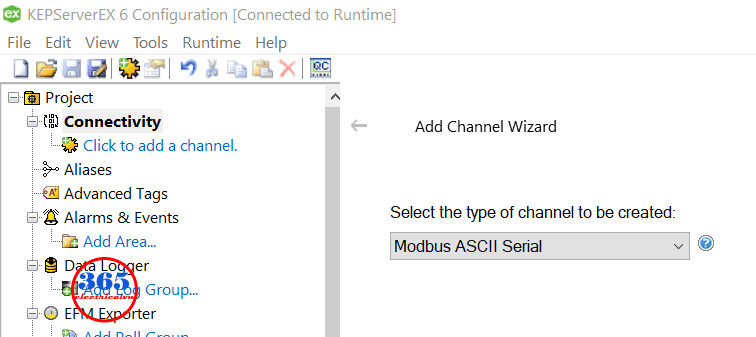 Click on “Project” -> “Connectivity” -> “Click to add new channel”. On “Add Channel Wizard” select “Modbus ASCII Serial” -> Next and enter the name for the channel. Click “Next” on all next steps, and finally click “Finish”.
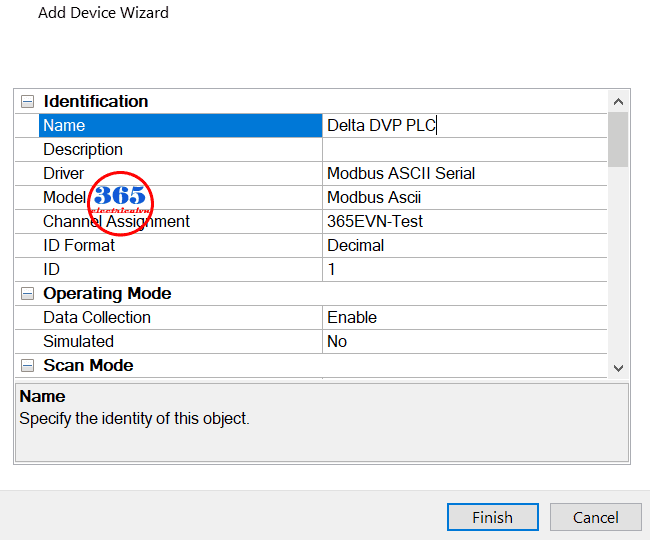
- Below your channel, select “Click to add a device” and enter the name of the device. Click “Next” and “Finish”.
 Right-click on your device and select “New Tag”. Enter a name, and address and select the data type for the tag.
To enter the address for the tag, please download and refer to the “Modbus address table of Delta DVP series PLC“. For example, in PLC we used the word D200 -> on KepServerEX we must enter “404297” to address. Or in PLC we used an output Y0 -> on KepServerEX we must enter “001281” to address.
- After we added the tag, we can read or write the value for tags by using the “OPC Quick Client” function on the software.
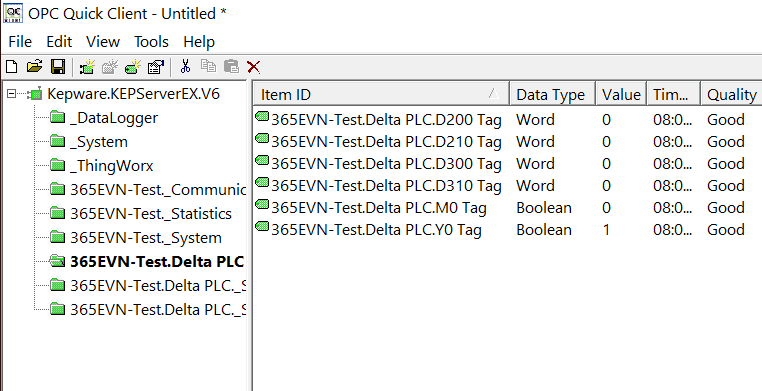 Please watch the below video for more details about connecting KEPServerEX OPC with PLC Delta DVP Use Modbus.
Guide Video To Connect Delta PLC and KEPServerex 6
If you can not watch the video above, please check another link in my Video Area (V0087) or give feedback to me via WhatsApp, Email, or Message. Thank you!
Link To Download The Software
- KEPServerEX 6: Link
- Modbus address table of Delta DVP series PLC: Link
- Delta WPLSoft 2.5 for Delta PLC: Link
- Delta DOPSoft V4.00 for DOP-100 HMI: Link
- Link Download Project source files for Delta HMI, PLC and KEPServerEX 6
See you in the next posts!
-By 365electricalvn-
If you find this content valuable, please rate it (click the button above), share it with your friends or invite me for a coffee by clicking the button below.


