Pniopcac.exe Assertion Error. How to Fix on Windows (32/64-bit)

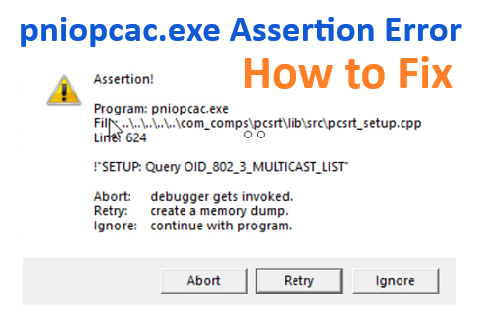
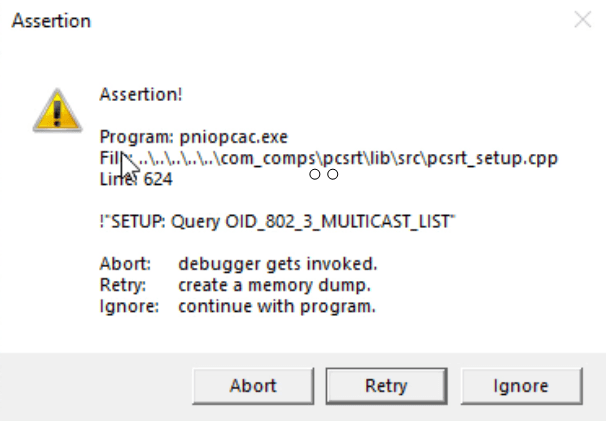
Every time you restart the computer after installing “Step 7 MicroWIN V4.0 SP9” on Windows 10 64-bit (or other WIndows), maybe you will see the “Pniopcac.exe Assertion Error” message. It is really annoying. In this post, we will guide you to solve the error.
Pniopcac.exe Assertion Error Message

With the message, you must press “Ignore” (two times) to skip it. But every time you restart your computer, the “pniopcac error” appears again. It is really annoying. However, if someone installs Simatic Manager on their computer, they use Step7 Micro/WIN V4.0 SP9 without any error message. If you see the error on your computer, please continue reading the post to solve it.
Could be helpful for you:
- Step7 MicroWIN on Windows 10 64-bit (V4.0 SP9). How to Install
- Unlock POU Password S7-200 Use Step7 MicroWIN V4.0
- Step7 MicroWin Smart For S7-200 SMART Series
How to Fix the pniopcac.exe assertion error
The way we use it: Rename the file “pniopcac.exe“. We look it in the startup item on our computer but did not found. Note: After renaming the file please check the working for other programs (By Siemens). On our computer, we tested for Step7 MW V4.0 SP9, it was no problem.
Now, follow the instructions to fix the pniopcac.exe assertion error:
Step 1: Add “Take Ownership” To Right-Click Menu On Windows
- Download the tool “Take Ownership” on the link at the end of the post.
About the tool: Default, you can not edit, rename or delete some files protected by Windows 10 (and other Windows) Operating systems. The tool helps you with an easy way to do it. For more information about “Take Ownership” please use “Google” ^_^.
- Extract the file downloaded zip file, right-click on the “Install Take Ownership.reg” file and then click the “Merge” option. If you see the following file security warning, please click the “Run” button.
- To remove the “Take Ownership” option from the right-click menu, please select the “Uninstall Take Ownership.reg” file extracted above and do it with the same steps.
Step 2: Fix the Error
- Open the path: “C:\Windows\SysWOW64”
- Right-click on the “Pniopcac.exe” file -> “Take Ownership”
- Rename the “Pniopcac.exe” file to “Pniopcac-backup.exe”

- Restart your computer and enjoy the result
Note: After you rename the file, if your computer has a program (or more) not working normally, you rename the file again. Please, notify us by commenting below. Thank you.
Guide Video to fix pniopcac.exe assertion error on Windows 10
If you can not watch the video above, please check another link in my Video Area (V0009) or give feedback to me via WhatsApp, Email, or Message. Thank you!
Direct Link Download
Update 2022 – A new way to fix the “pniopcac.exe assertion error”
We make a new video to fix the assertion error “pniopcac.exe” on Windows 11 x64. You can try the way for all Windows versions. Please watch the video below
Guide Video to fix pniopcac.exe assertion error on Windows 11 x64
If you can not watch the video above, please check another link in my Video Area (V0008) or give feedback to me via WhatsApp, Email, or Message. Thank you!
If you find this content valuable, please rate it (click the button above), share it with your friends or invite me for a coffee by clicking the button below.


